Many of my students are hard-working folks who spend their days in the office trying to make a living for their families and pay for their golf habit. At times it can be a frustrating existence, as they will look out the window and see great, sunny weather and wish they were on the golf course and not behind a desk. In some cases that time spent in the office doesn’t necessarily effect their playing time, as many of them play the game in a business setting. But improvement is a different story. Tied up in the office all day, or running out to make a tee time with little or no time left to practice, their games don’t get any better. Well today that all ends, because I am going to give you 2 ways to improve each day while in your office grinding away.
First off, we need to check your equipment and facilities. You will need some golf balls, a 7-iron, a putter and an alignment rod (one of those orange sticks you see in parking lots or sold in the mailbox section of Lowes or Home Depot). Then you will need high enough ceilings to make swings without worrying about paying your landlord for damages or calling a painter, and a smooth carpet that allows the ball to roll straight and fairly fast. The final piece of the puzzle is some painter’s tape or masking tape. Now you are set to build your own practice center right in your office, so let’s get to work.
PUTTING PERFECTION
The easiest portion of your game to work on in your office is putting because it requires so little. First, find the space you want to use in the office and put a coin down on the floor as your “hole”; you will need a minimum of 6 feet to work on your stroke. Then, using the 3 foot alignment rod, measure out and mark with tape a 3 foot putt and a 6 foot putt on the carpet. Then lay the alignment rod down parallel to your line so that you can use it as a guide for your stroke as you practice. Now the simple part: hit putts! I want you to 5 putts from 3 feet, then 5 putts from 6 feet, repeating this 3 times for a total of 30 putts. Your goal here is to make solid contact on the putter face, feel your stroke go along the alignment rod, and hit the coin every time. Having trouble hitting the center of the face of the putter? Put a band aid on the center of your putter and hit the sweet spot every time. Trouble keeping the putter along the alignment rod during your stroke? Work on getting your arms hanging down and relaxed, with your eyes over the ball. Feel the shoulders and arms work in unison. Remember that each ball should gently roll over the coin, not barely get there or fly right over it. Work on good speed control that leaves the ball 6” or so behind the coin. Do this practice station each day and watch your putting confidence take off big time.
HIT YOUR LOW POINT
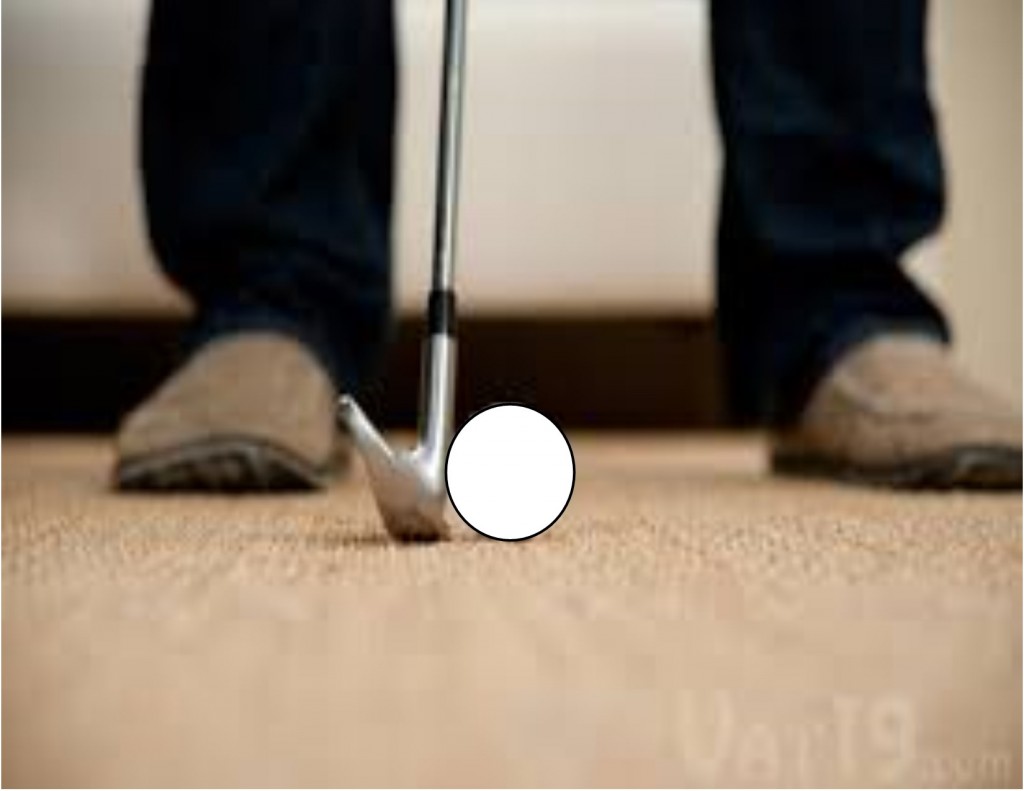
No, we aren’t talking about your mood, but the bottom of the swing. I use the term “low point” often when I speak to my students about making great contact with the golf ball. Many of them don’t realize that the golf club should always hit the ball first and then hit the ground second, reaching its low point of the swing 2-3” in front of the golf ball. Tour players average an incredible 4” in front of the golf ball, which is why their contact is so flush and pure every time. So to improve on this area, you can do some work in the office. First, find the area that is clear of all furniture and clutter, and put a 3’ length of tape on the carpet. Then take your set up with your 7 iron so that the tape is directly between your feet (your ball position) and the club is resting on it as you set up. A word of warning before you swing: if your carpet is thin or doesn’t have much padding, put down a rug or piece of carpet for safety – be smart! Now make some easy swings at first, feeling your body shift and get the club to lightly brush the carpet forward of the tape on the ground. The club should ideally hit 2-3” forward of it and never behind it (closer to your right foot). Starting with slower swings allows you to feel your body motion and how it effects where the club hits the ground. Are you hitting behind or on the tape? Make sure you have 80% of your weight on your lead foot (left foot for right handers) at the point of impact. Still hitting behind? Make sure that your hands lead the way into impact and get forward of the tape before the club brushes the carpet. Feel free to speed it up as you go along, but if you start to miss the ground entirely or hit behind the tape, slow down until your body movements and feeling for where the club is improves. The common issues I see every day are that golfers generally do not pivot to their lead leg properly or soon enough, and they don’t have a good sense of where the club head is in relation to their hands to find the low point effectively. If you can practice this area of the swing and get better at it you will see a dramatic difference in the quality of your strikes on the golf course. A good low point will make you happy!
As always, there is no substitute for getting out on the range or golf course and watching the ball fly. Coming out for a lesson or my Ball Striking Golf Schools will help you improve faster and understand your tendencies when you do hit a bad shot. But if you can’t get out there because you are chained to your desk, find a way to take a break between phone calls and emails and get in some practice. It will help you mentally decompress and it will help you stay in touch with golf until the office doors close for the day.


